
By Reno Rise. Published September 22, 2026. Last updated September 22, 2026. General planning information, not legal or engineering advice.
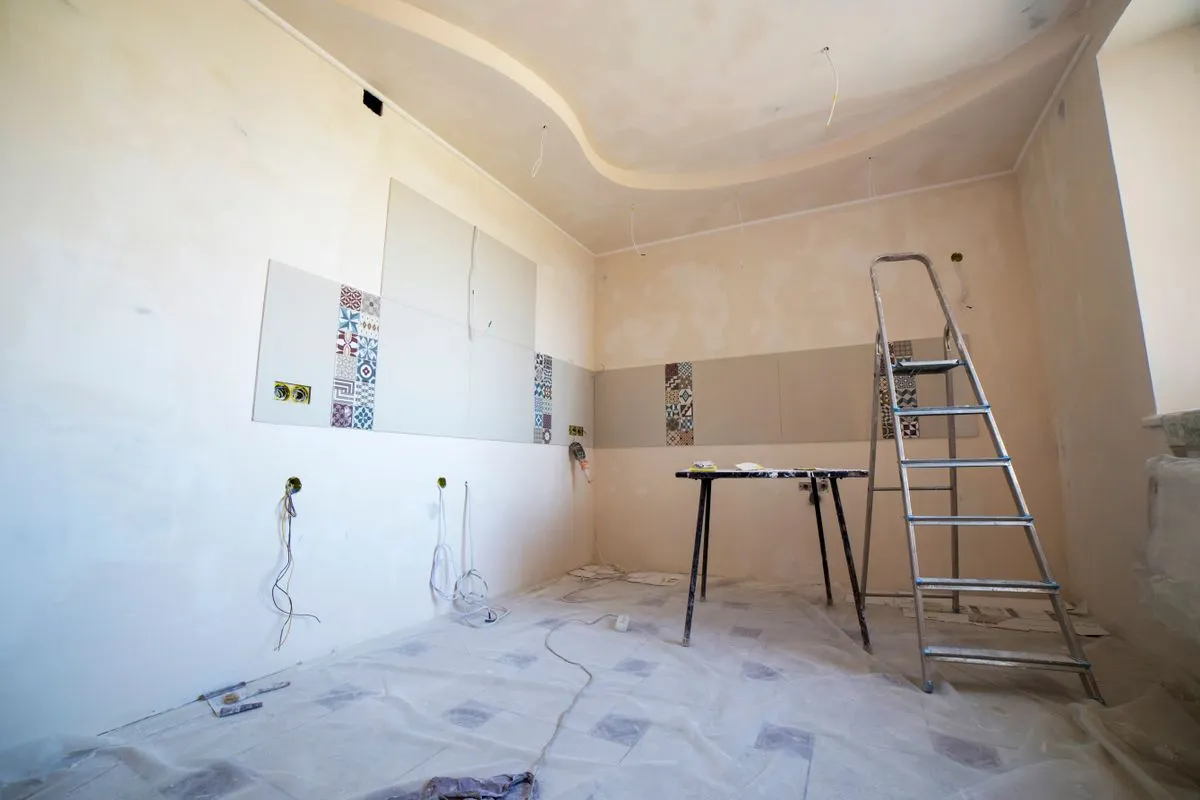
The short answer: a basement renovation generally follows nine steps, in this order — fix moisture and drainage, confirm permits, frame and insulate, run electrical, run plumbing, handle windows and entrances, close up walls and ceiling, lay flooring, then paint and finish. Do them out of order and you usually redo one of them. Twice, if you are unlucky.
None of this is a secret. It is just easy to skip when a basement has sat unfinished for years and you finally want to see drywall go up this weekend. Slow down for nine steps and the rest of the project gets a lot calmer.
Step 1: Decide the Scope
Before anyone measures a stud wall, decide what the room is for: a family room, a home gym, an office, or a future legal secondary suite guide. That answer changes ceiling height requirements, plumbing, and whether you need an egress window. Homeowners do not want a menu of twelve options here. They want a plan, so pick one and write it down.
Step 2: Confirm What Needs a Permit
Toronto Building says structural changes, new plumbing or heating, underpinning, a new basement entrance and a second dwelling unit all need a building permit. Paint and flooring on a safe existing layout generally do not. Confirm your exact scope before step 3, not after step 6, because "it's just finishing" is how a permit conversation turns into a stop-work order.
This step also takes longer than people expect. Drawings, applications and review are measured in weeks, not days, so it is the first thing to start, not the thing you squeeze in once the framing is already up.
Step 3: Deal With Moisture First
A familiar scenario: a basement feels “warm, kind of cozy” all winter. It is not cozy. It is humid enough to fog the windows from the inside, which is mould’s favourite vacation spot. Comfort can be a disguise, and warmth is not always safety.
Any history of dampness gets diagnosed and fixed before framing starts, not after. See basement waterproofing before renovation for the full breakdown of causes and fixes. Finishing over a wet basement does not solve it. It just buys the mould some drywall to hide behind.
This is also the step where ceiling height gets a real measurement, not a guess from standing in the doorway. If the number is close to Ontario’s roughly 1.95 metre basement minimum, that changes what steps 4 and 8 can achieve, and it is far cheaper to know that now than after the framing is already up.
Step 4: Frame and Insulate
Once the space is dry, stud walls go up against the foundation with proper insulation behind them, and ceiling height gets checked against what the finished floor, insulation and ceiling assembly will actually take away. If height is tight, that is a conversation for an underpinning or bench footing decision, not a surprise at drywall stage.
Step 5: Electrical Rough-In
Wiring, outlets, lighting circuits and panel capacity get run and inspected before the walls close up, because nobody wants to cut open a finished ceiling to add one more pot light. Ask who pulls the electrical permit and books the inspection, and get the answer in writing.
Step 6: Plumbing Rough-In
If the plan includes a bathroom, a kitchenette or a laundry hookup, drains, supply lines and venting are run at this stage, sometimes with a sewage ejector pump if gravity will not cooperate with the existing line. This is also the step that most changes a suite budget, so confirm it before you fall in love with a tile pattern.
Step 7: Windows and Entrances
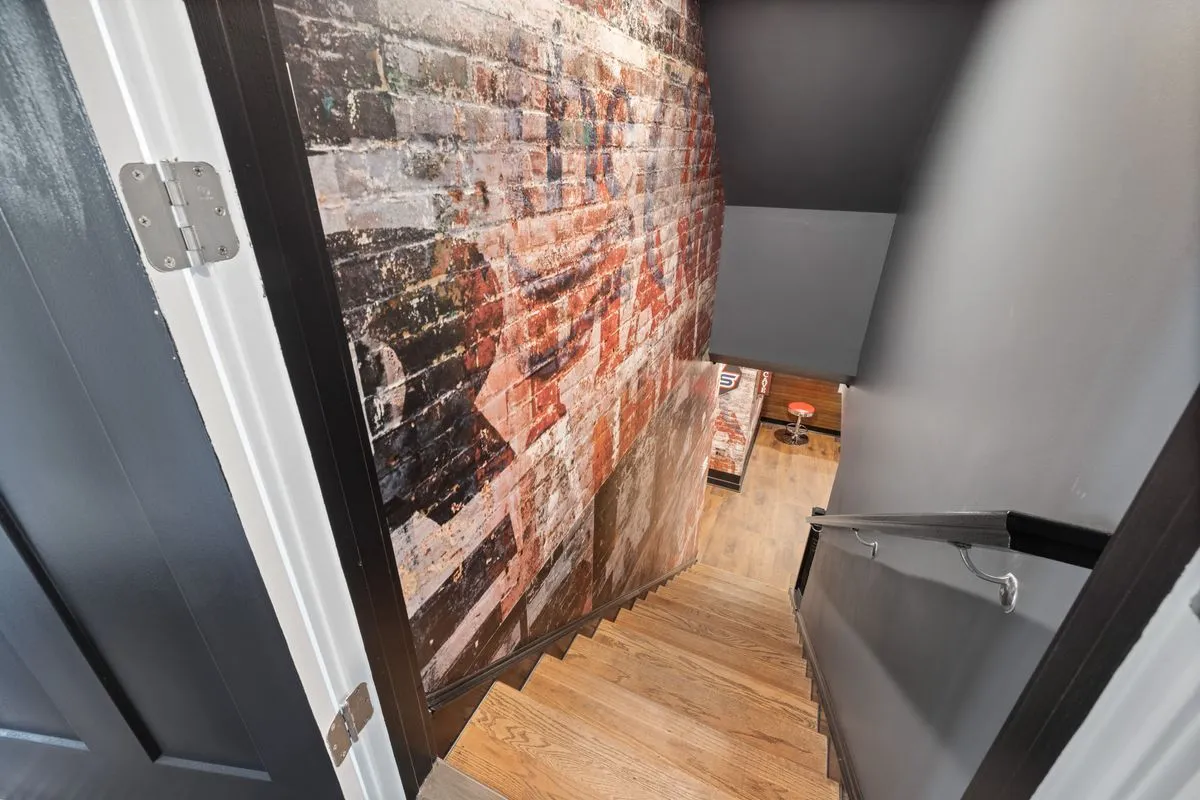
A basement bedroom or a secondary suite generally needs a safe way out, which is what an egress window is for. A separate below-grade entrance, if the plan calls for one, is its own structural project; see walkout construction. Both get planned around the framing that is already up, not cut into it as an afterthought.
Step 8: Close Up Walls, Ceiling and Floor
With inspections passed on the rough-ins, drywall, a fire-rated ceiling assembly where one is required, and subfloor and flooring suited to a below-grade slab go in. A below-grade floor has its own moisture and height questions; see basement flooring for a below-grade slab before choosing a material.
Step 9: Paint, Lighting and Finishing Touches
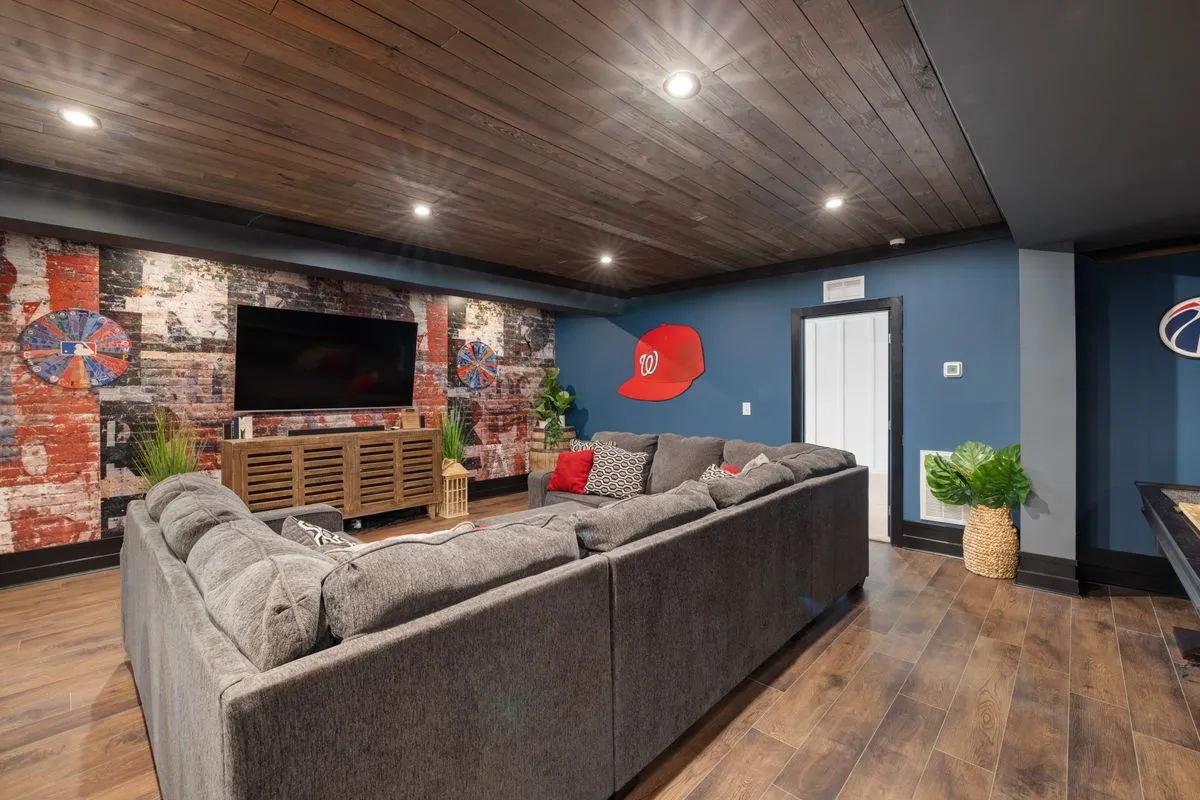
Paint, trim, light fixtures and furniture are the fun part, and they are supposed to be. This is also the step people try to rush toward from step one, which is exactly backwards. Get here in order and it stays fun. Get here early and you are just decorating a problem.
How Long Each Step Typically Takes
Timelines vary by scope, but this is the rough shape of a straightforward finish, once permits are approved:
- Permits and drawings: two to six weeks, depending on scope and how busy the City is.
- Moisture fixes, if needed: a few days for minor grading and downspout work; longer for excavation-based waterproofing.
- Framing, electrical and plumbing rough-ins: one to three weeks, plus inspection wait times between each.
- Windows, entrances, drywall and flooring: two to four weeks.
- Paint and finishing touches: a few days to a week.
Add it up and a straightforward basement finish often runs six to twelve weeks of actual construction, not counting the permit wait beforehand. A suite conversion, underpinning or a walkout entrance extends that considerably, because the structural steps above take longer and often happen in sequence rather than side by side.
Which Steps Need a Licensed Professional
Most pros overcomplicate this to sound essential for everything. They are not. A confident homeowner can often prime and paint, assemble furniture, and choose finishes. Electrical, plumbing, structural framing, underpinning and anything touching a permit are a different conversation, because a mistake there is not cosmetic. It is the kind of problem that introduces itself later, usually at an inspection or a sale.
- Ask each professional what part of the sequence they handle, and what they do not.
- Confirm who pulls permits and books inspections for their portion of the work.
- Get the order of trades in writing, so nobody drywalls over another trade’s unfinished rough-in.
- Keep a folder of permits, inspection records and warranties as you go, not after the fact.
“Cash is cheaper” is a sentence with a lot of company: Statistics Canada estimated that residential construction accounted for 32.7% of underground economic activity in 2023, the largest share of any industry (Statistics Canada, March 2025). Skipping the licence and the permit on the steps above is how that statistic grows. It is also how a basement renovation becomes a story you tell your insurance adjuster.
If you would rather hand the whole sequence to someone else and just answer questions as they come up, that is what the form below is for. Share your basement and your goals, and Reno Rise matches your project with the contractor best suited to the work.
General information, not legal or engineering advice. Confirm your project with Toronto Building and a qualified designer or contractor. Reno Rise does not issue permits or give code advice.
Frequently asked questions
What is the correct order for a basement renovation?
Moisture and drainage first, then permits, framing and insulation, electrical, plumbing, windows and entrances, closing up the walls and ceiling, flooring, and finally paint and finishing touches. Working out of order usually means redoing a step.
What should I do first when renovating a basement?
Confirm the scope and check for any history of dampness before anything else. Finishing over an unresolved moisture problem is the single most common step people skip, and the most expensive one to skip.
How long does a basement renovation take?
It depends on scope, but a typical finish runs from several weeks to a few months once permits are in hand, longer if underpinning, a suite conversion or a walkout entrance is involved.
Do I need a permit for every step of a basement renovation in Toronto?
No. Toronto Building lists specific triggers, including structural changes, new plumbing or heating, underpinning, a new entrance and a second unit. Paint and flooring on a safe existing layout generally do not need one.
Can I do some basement renovation steps myself?
Often yes for painting, trim and furnishing. Electrical, plumbing, structural work and anything requiring a permit are usually best left to a licensed professional, both for safety and for inspection sign-off.
Which basement renovation step needs a professional the most?
Anything electrical, plumbing, structural or permit-triggering. Mistakes there are not cosmetic, and they tend to surface later at an inspection, a sale or an insurance claim.
Request a Basement Assessment
Share a few details about your basement and your plans. Reno Rise reviews what you send and matches your project with the contractor best suited to the work. This does not confirm an appointment, a quote or an approval.